

10 DIY Heating Pad Ideas for a Little Extra Comfort

by Jenna Mendez
Updated: October 6, 2026
6.4 min read
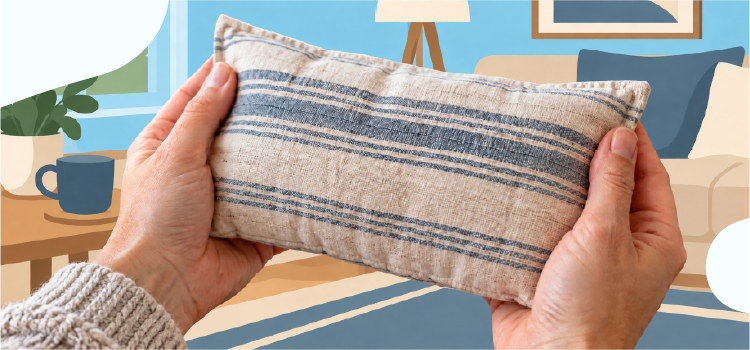
Looking for a simple way to add a little warmth to your day? A DIY heating pad can be a practical project using supplies you may already have at home.
From a no-sew rice sock to a homemade cover for your favorite reusable heat pack, these ideas offer something for beginners and experienced crafters alike. Some take just a few minutes to put together, while others make thoughtful handmade gifts. Let's get started!
Before You Make a DIY Heating Pad
For projects that go in the microwave, use plain, 100% cotton fabric and cotton thread. Avoid metallic decorations, fasteners, and fabrics with unknown fiber content. Cotton blends may not be suitable for microwaving.
Stay beside the microwave while heating, let grain packs cool completely before reheating, and discard packs that are scorching or smell burned. Don’t use them to warm bedding or place them under blankets.
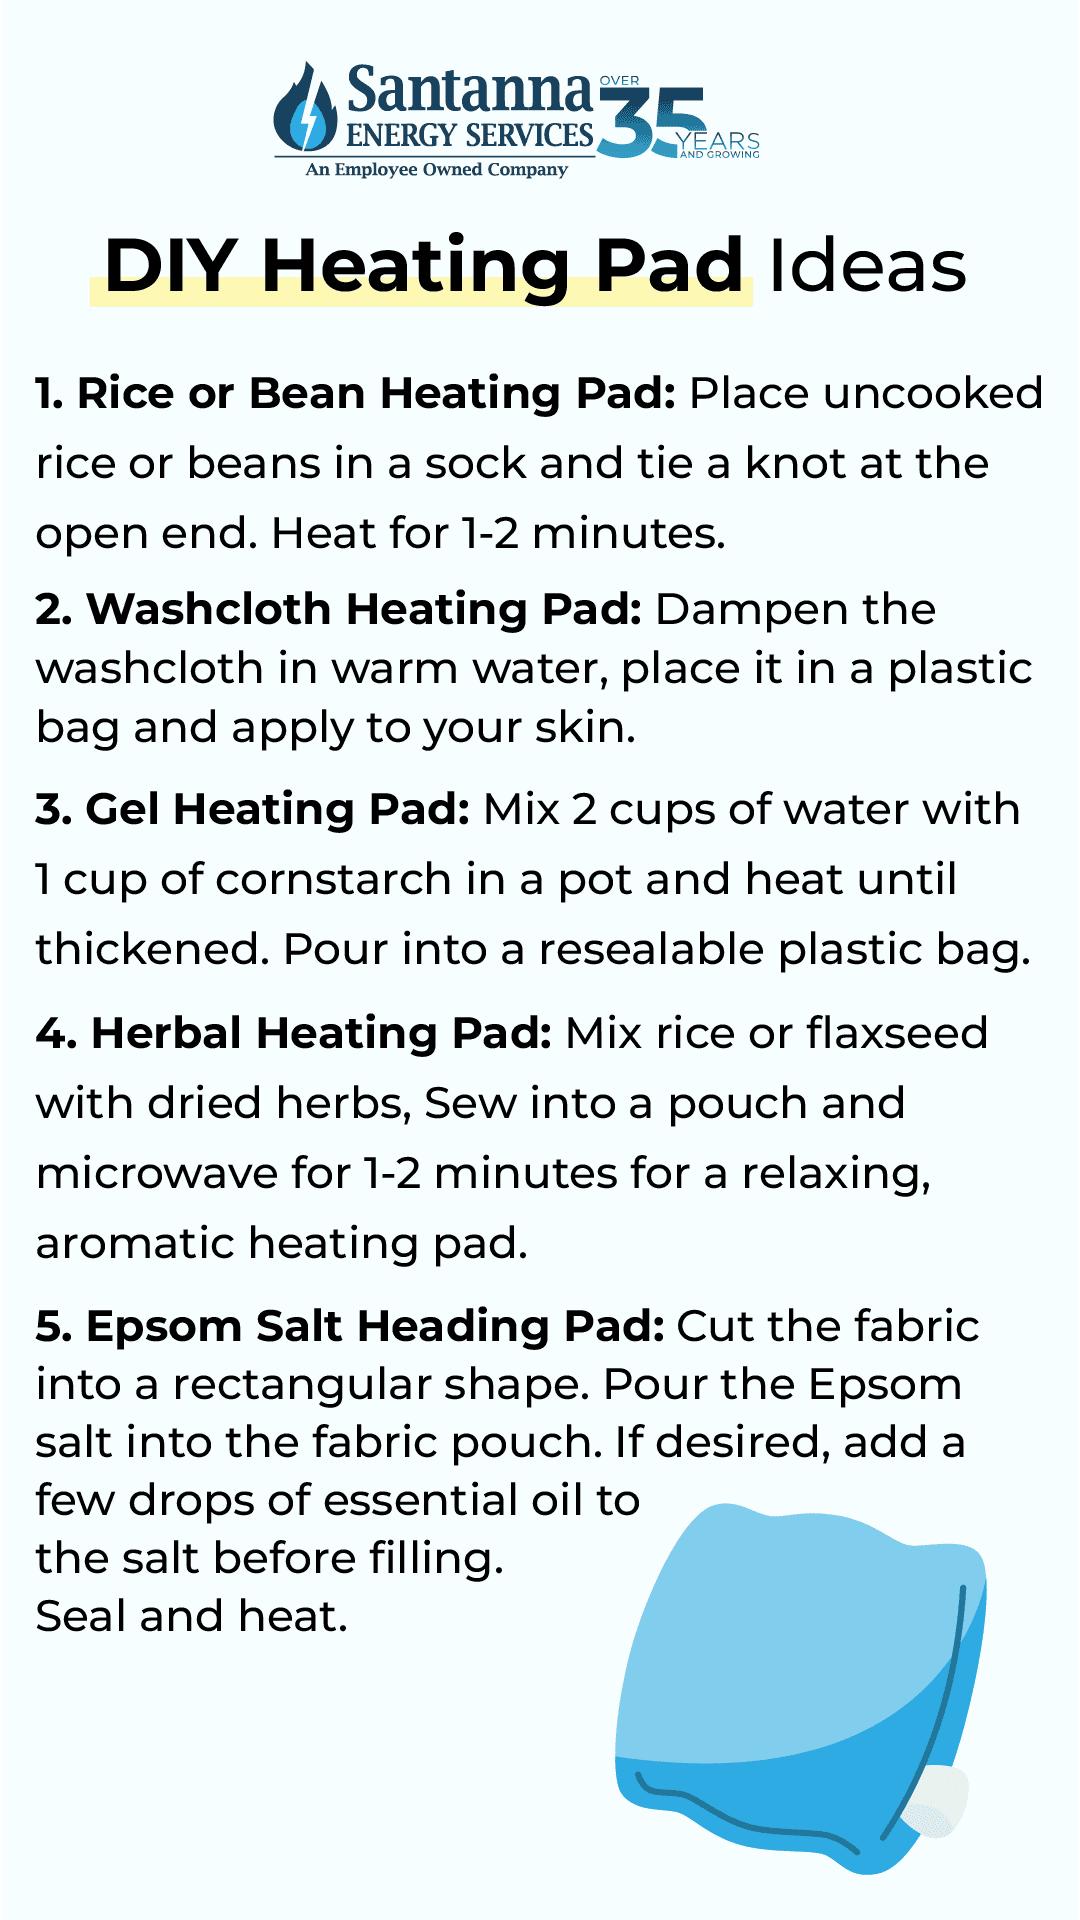
1. No-Sew Rice Sock Heating Pad
This classic project is a good starting point if you don’t have a sewing machine.
What you’ll need:
- A clean, plain cotton tube sock
- Uncooked rice
- A funnel or measuring cup
How to make it:
Pour uncooked rice into the sock, leaving enough room for the filling to move and for you to tie a secure knot. The sock should bend easily rather than feel tightly stuffed. Tie the opening closed and check for leaks.
Heat this project in the microwave for one to two minutes, depending on microwave strength. Check carefully for excessive heat before applying it.
2. Warm Washcloth Compress
No rice or sewing supplies? Start with a washcloth and warm water.
What you’ll need:
- A clean washcloth
- Comfortably warm water
- Plastic bag
How to make it:
Wet the washcloth with warm water and wring it out until it’s damp rather than dripping. Fold it into a small rectangle and check that it feels comfortably warm and place it in a plastic bag and apply it to your skin.
Refresh the washcloth with warm water when it cools.
3. Simple Sewn Rice Pouch
Want something a little more polished than a knotted sock? Try a basic fabric pouch.
What you’ll need:
- Two matching pieces of plain cotton fabric
- Cotton thread
- A needle or sewing machine
- Uncooked rice
- A funnel
How to make it:
Place the fabric pieces with their right sides facing each other. Sew around the edges, leaving a small opening. Turn the pouch right side out, add rice without packing it tightly, and stitch the opening closed securely.
Choose a sewing pattern that includes heating guidance for its finished dimensions and filling amount. Don’t assume the rice-sock timing applies to your pouch.
4. Sectioned Fabric Heating Pad
If you enjoy sewing, divided compartments can help distribute the filling.
What you’ll need:
- Plain cotton fabric and cotton thread
- Uncooked rice
- A sewing machine
- A funnel
- A sectioned heat-pack pattern
How to make it:
Follow a pattern to create several fabric channels or pockets. Add the specified amount of rice to each section, leaving room for movement, then close the openings securely.
Use the pattern’s instructions for both construction and heating. A larger pad needs its own guidance.
5. Removable Cotton Heat-Pack Cover
Already own a reusable heat pack? Give it a washable outer cover.
What you’ll need:
- Cotton fabric
- A needle and thread or sewing machine
- Your existing heat pack
- A measuring tape
How to make it:
Measure the pack and make an envelope-style cover with overlapping fabric at the opening. Leave enough room to slide the pack in and out without squeezing it.
Remove the homemade cover before heating the insert, and follow the insert manufacturer’s directions. Once it’s heated, place it inside the cover if the product instructions allow one.
6. No-Sew Sock Cover for a Small Heat Pack
This project gives a small reusable pack a cozy sleeve without a sewing machine.
What you’ll need:
- A clean sock
- A small reusable heat pack that fits inside
How to make it:
Choose a sock that slips over the pack easily without stretching tightly. Heat the pack separately according to its instructions, then slide it into the sock if the manufacturer permits an outer cover.

7. Handmade Hot Water Bottle Cover
A hot water bottle offers another option, and a homemade cover makes a satisfying craft project.
What you'll need:
- A water bottle designed for warming
- Fabric for the cover
- A needle and thread or sewing machine
- A paper template
How to make it:
Trace the bottle's shape onto paper, allowing extra space for seams and easy removal. Use the template to sew a cover with an opening that leaves the bottle's neck and stopper accessible.
Fill and use the bottle according to its manufacturer's directions. Don't substitute a drinking bottle, jar, or other improvised container.
8. Herbal Heating Pad With a Removable Scented Sachet
Enjoy gentle warmth alongside your favorite herbal scent by pairing a reusable heat pack with a separate sachet of dried lavender or chamomile.
What you'll need:
- A reusable heat pack with heating instructions
- A removable fabric cover
- A small cotton sachet
- Dried lavender or chamomile
- A needle and thread
How to make it:
Fill the small sachet with dried herbs and sew it closed. Add a small pocket to the outside of your heat-pack cover to hold the sachet.
Remove both the cover and sachet before heating the pack according to its manufacturer's directions. Once heated, put the pack inside its cover if the instructions allow one, then tuck the herbal sachet into the outside pocket.
9. Gel Heating Pad With a Handmade Cover
If you prefer a flexible gel pack, personalize one with a washable fabric sleeve. The DIY part is the cover, while the manufactured insert provides specific heating instructions.
What you'll need:
- A reusable gel pack specifically labeled for heat therapy
- Cotton fabric
- A measuring tape
- A needle and thread or sewing machine
How to make it:
Measure your gel pack and cut fabric for a loose-fitting envelope cover, allowing extra room for seams. Sew the edges and leave an overlapping opening so the pack slides out easily.
Remove the pack from the cover and heat it exactly as directed by its manufacturer. Some packs use warm water, while others permit microwaving—use only the method listed on your product. Slip it into the cover afterward if the instructions allow.
10. Epsom Salt Warm Compress
For an Epsom salt option, make a warm washcloth compress rather than heating a pouch of dry salt. This simple project uses warm water to provide the heat.
What you'll need:
- Plain Epsom salt labeled for external use
- Warm water
- A bowl
- A clean washcloth
- A dry towel
How to make it:
Check your Epsom salt package for directions on compresses and follow the measurements. The Epsom Salt Council offers a recipe using 1–2 tablespoons of Epsom salt in 2 cups of warm water. Stir to dissolve, dip the washcloth into the mixture, and wring it out until damp.
Check that the cloth feels comfortably warm before applying it. Keep a dry towel nearby to catch drips, and remove the compress if your skin becomes irritated.
How to Use a Heating Pad Comfortably
Aim for gentle warmth rather than intense heat. Keep a towel or suitable cover between the heat source and your skin, and check your skin regularly. Remove the pad if it feels uncomfortable. NHS guidance recommends limiting heat applications to about 15–20 minutes at a time.
If you have reduced sensation, circulation problems, or an injury you're unsure how to treat, ask a healthcare professional whether heat is appropriate.

Jenna Mendez is an experienced energy content professional who has spent four years researching, writing, and managing authoritative educational content for Midwest energy consumers at Santanna Energy Services. As a lifelong Illinois resident, Jenna brings firsthand knowledge of the region’s climate, communities, and household energy needs to her work.
She specializes in translating complex energy topics into clear, practical guidance about electricity and natural gas costs, appliance energy use, energy efficiency, and everyday home living. Drawing on industry research, Santanna customer data, and insights from experienced energy professionals, Jenna incorporates this knowledge into her content to help homeowners better understand their energy choices and make informed decisions for their households.