

How to Make Your Own NeeDoh – 6 Easy Steps!

by Jenna Mendez
Updated: September 22, 2026
4.5 min read
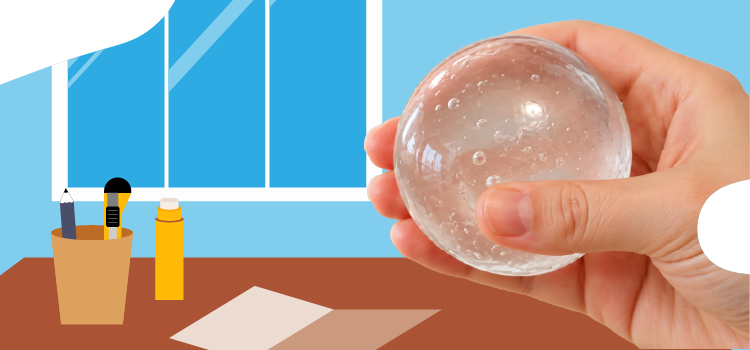
If you love the squishy, stretchy feel of a NeeDoh stress ball, you can make a simple DIY version at home with just a few supplies.
A homemade NeeDoh is essentially a balloon filled with a soft gel that creates that satisfying, slow-squish texture. It's an easy DIY sensory activity for kids and adults, and you can customize the size, color, and texture of your stress ball. Let's jump into the only tutorial you'll need to make homemade NeeDoh.
What is NeeDoh Made of?
It depends on the product but, NeeDohs are typically made from maltose (a natural sugar), while some products are made from polyvinyl alcohol gel, and some are made from cornstarch. And no, you cannot eat the inside of a NeeDoh!
For our homemade NeeDoh, we're sticking to the same non-toxic materials and opted for clear hair gel. But no, you cannot eat the inside of homemade NeedDoh either.
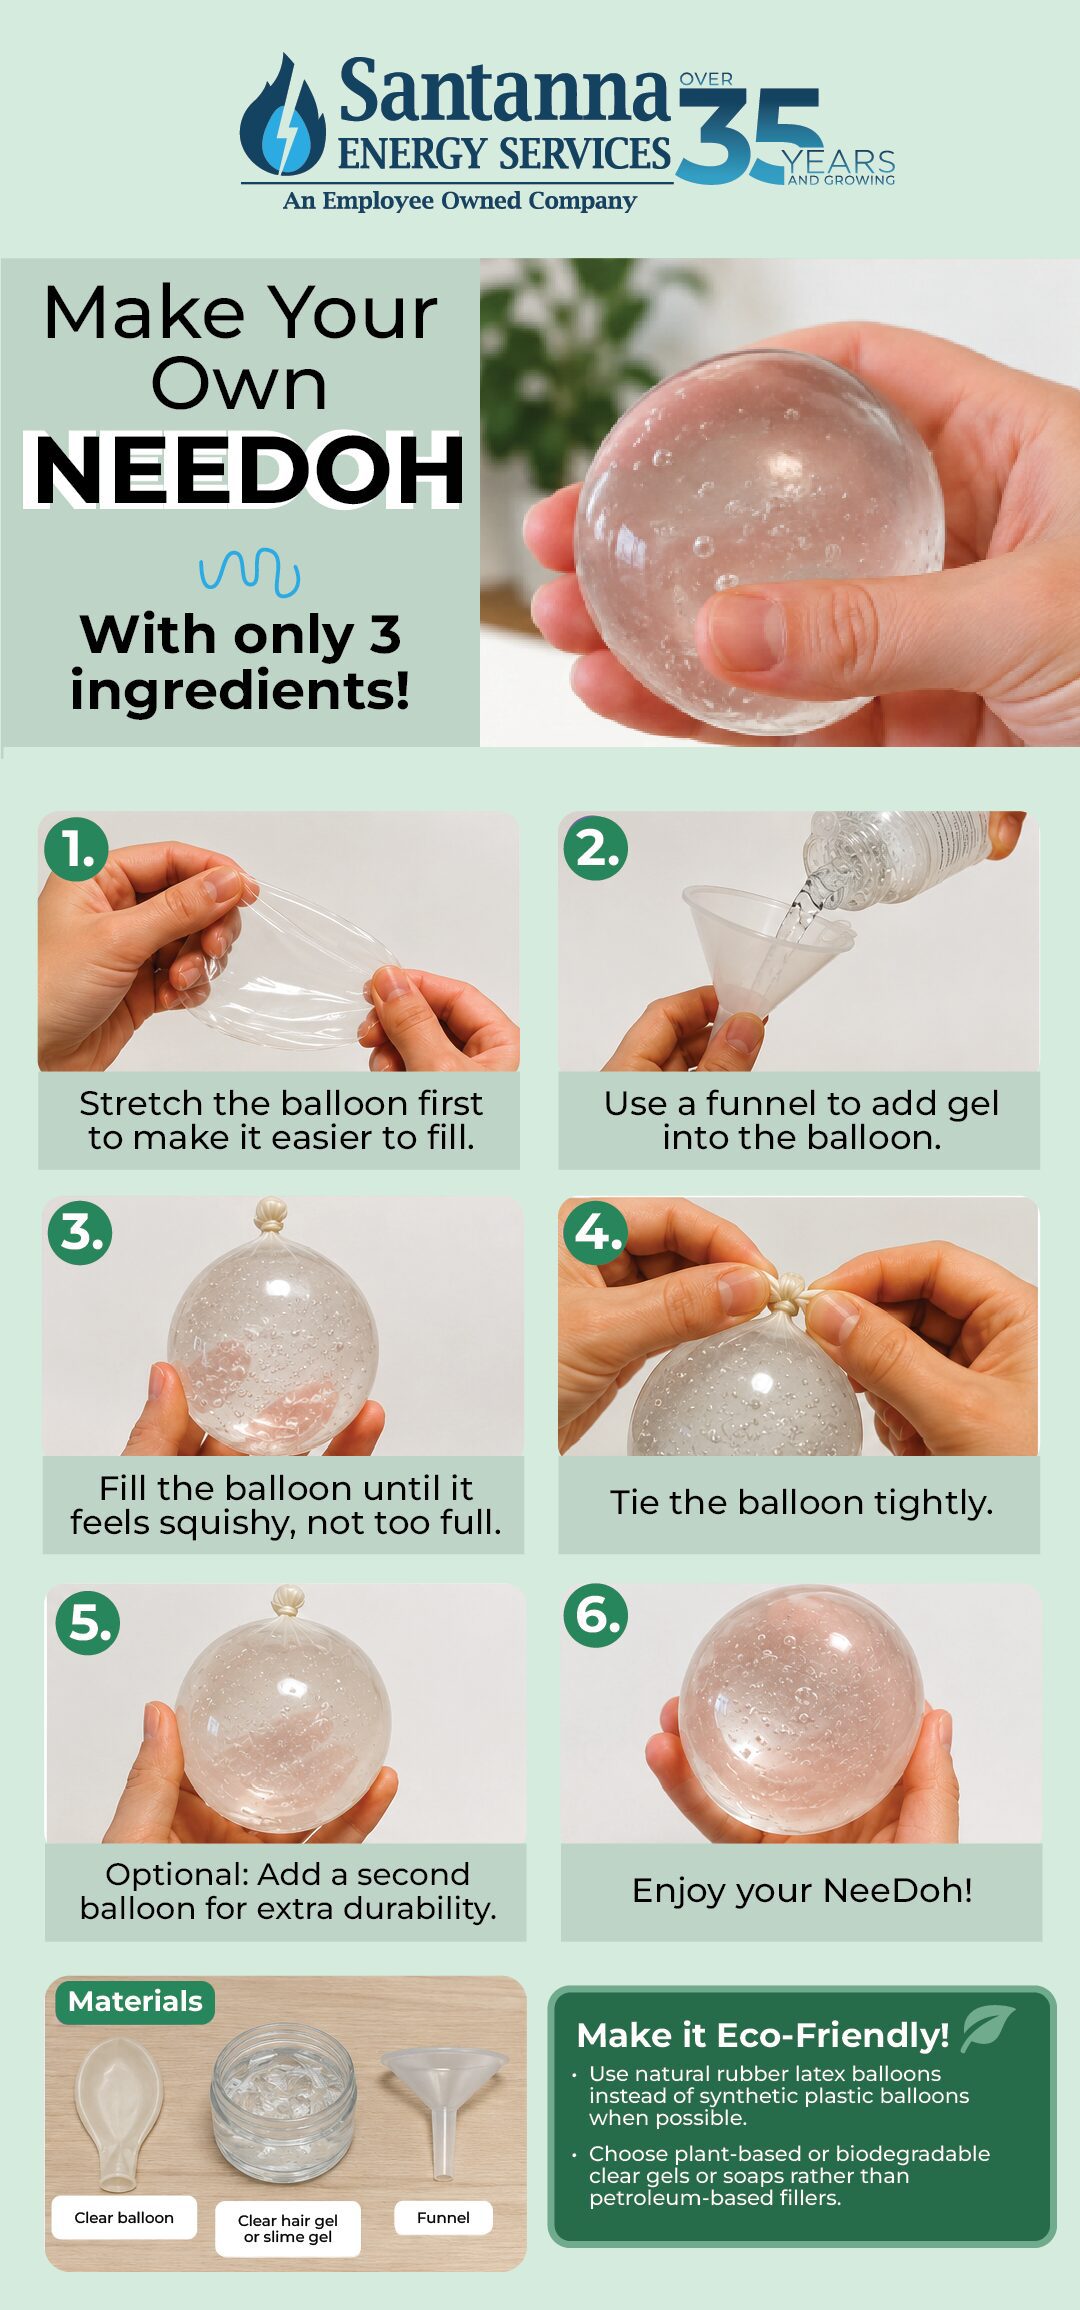
What Do You Need to Make a Homemade NeeDoh?
You only need three main materials:
- 1 clear or latex balloon
- Clear hair gel
- A small funnel
You may also want a second balloon if you'd like to make your DIY NeeDoh more durable. A thicker balloon will generally hold up better to repeated squeezing than a very thin balloon.
How to Make a DIY NeeDoh
1. Stretch the Balloon
Before filling it, gently stretch the balloon several times with your hands.
Stretching the balloon helps loosen the rubber, making it easier to fill and giving your finished stress ball a softer, squishier feel.
2. Insert a Funnel
Place a small funnel into the opening of the balloon. Make sure the balloon fits snugly around the funnel so the filling doesn't spill while you're adding it.

3. Add the Gel
Slowly squeeze clear hair gel or slime gel through the funnel and into the balloon. Don't worry about filling the balloon completely. You want enough empty space for the gel to move around when you squeeze it.
4. Test the Squishiness
Remove the funnel and carefully squeeze the balloon before tying it.
Too firm? Remove a little gel.
Too floppy? Add a little more.
This is the easiest point to adjust your DIY NeeDoh until you get the texture you want.
5. Tie the Balloon
Once you're happy with the amount of filling, squeeze out excess air near the opening and tie the balloon securely.
Check the knot and balloon for any leaks before you start squeezing.
6. Add a Second Balloon for Extra Durability
For a stronger stress ball, cut the narrow neck from a second balloon and carefully stretch it over your filled balloon.
This creates an extra layer of protection in case the outer surface gets stretched, scratched, or punctured.
And that's it. Your homemade NeeDoh is ready to squish!
What Else Can You Put Inside a Homemade NeeDoh?
Hair gel works particularly well if you're trying to recreate that soft, slow-moving squish shown in our DIY.
But you can experiment with different fillings to change the texture. Try filling your NeeDoh with:
- Slime: Gives the stress ball a thicker, stretchier texture. Softer slime will generally be easier to squeeze. Here's how to make your own slime.
- Cornstarch and water: Creates an unusual filling that can feel firm when squeezed quickly but softer when handled slowly.
- Flour: Produces a soft, dough-like stress ball with less movement inside the balloon.
- Cornstarch: Similar to flour, but can create an especially soft, powdery-feeling squish.
- Rice: Creates a firmer, textured sensory ball rather than a smooth, gel-like one.
How Do You Make a DIY NeeDoh More Durable?
The easiest trick is double-ballooning it.
Once you've filled and tied your first balloon, cover it with a second balloon. The extra layer gives you a little more protection from punctures and makes the stress ball feel sturdier.
You should still keep homemade stress balls away from sharp objects, rough surfaces, pets, and anything else that could puncture the balloon.
Is a Homemade NeeDoh Safe for Kids?
Because this project uses balloons and gel, adult supervision is important, especially for younger children, but the end product, if done correctly, is completely safe.
Broken or uninflated balloons can be a choking hazard, and the filling should not be eaten. If the balloon develops a tear, leak, or weak spot, stop using it and dispose of it safely.
Also check the instructions and warnings on whatever gel and balloons you use, since ingredients and recommended ages can vary by product.
Why Is My Homemade NeeDoh Too Hard or Too Soft?
- If it's too hard: You may have added too much gel. Remove some so the filling has room to move.
- If it's too soft: Add a little more gel or experiment with a thicker gel.
- If there are lots of air bubbles: Gently squeeze excess air toward the opening before tying the balloon.
- If it leaks: Check the knot first. If the balloon itself is damaged, replace it rather than continuing to use it.
How Long Does a Homemade NeeDoh Last?
There isn't one set lifespan because it depends on the balloon, filling, and how frequently you use it.
Inspect it periodically for thinning, cracking, stretching, or leaks. If you notice damage, it's time to replace it.
Storing your DIY NeeDoh away from direct sunlight, heat, and sharp objects can also help protect the balloon.

Jenna Mendez is a Midwest native with lifelong roots in Illinois and time spent in Ohio during college, giving her a deep understanding of the Midwest region’s people, climate, and energy needs. She brings firsthand experience and local insight to topics that matter to Midwest homeowners, especially energy efficiency, sustainability, and home living. Jenna specializes in writing about eco-friendly living, all things Midwest, renewable energy, and practical ways to reduce energy costs. Jenna brings a trusted, and local hometown voice to every article she writes, helping readers live well, and sustainably, right where they are.